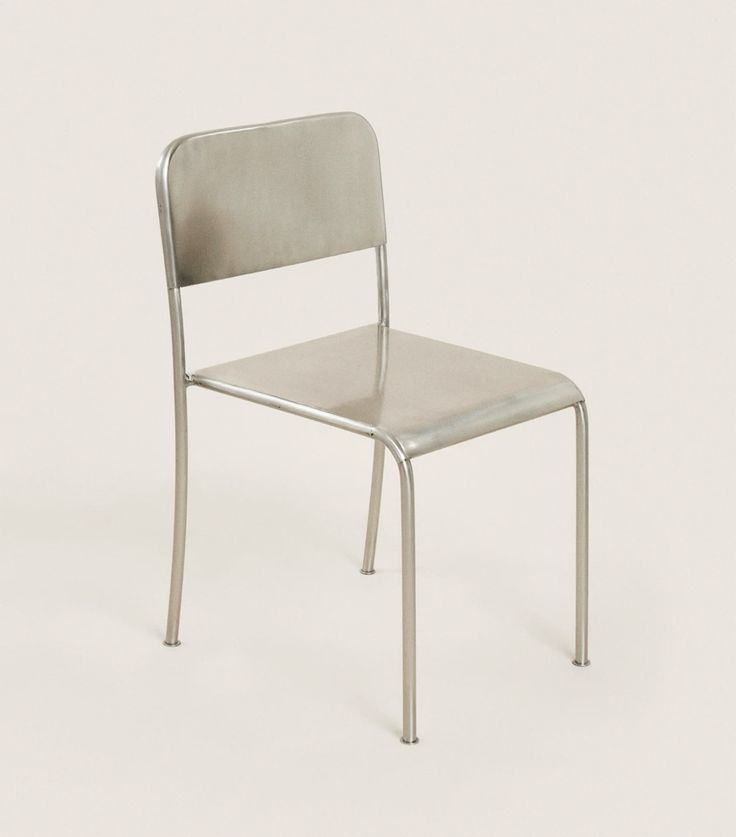
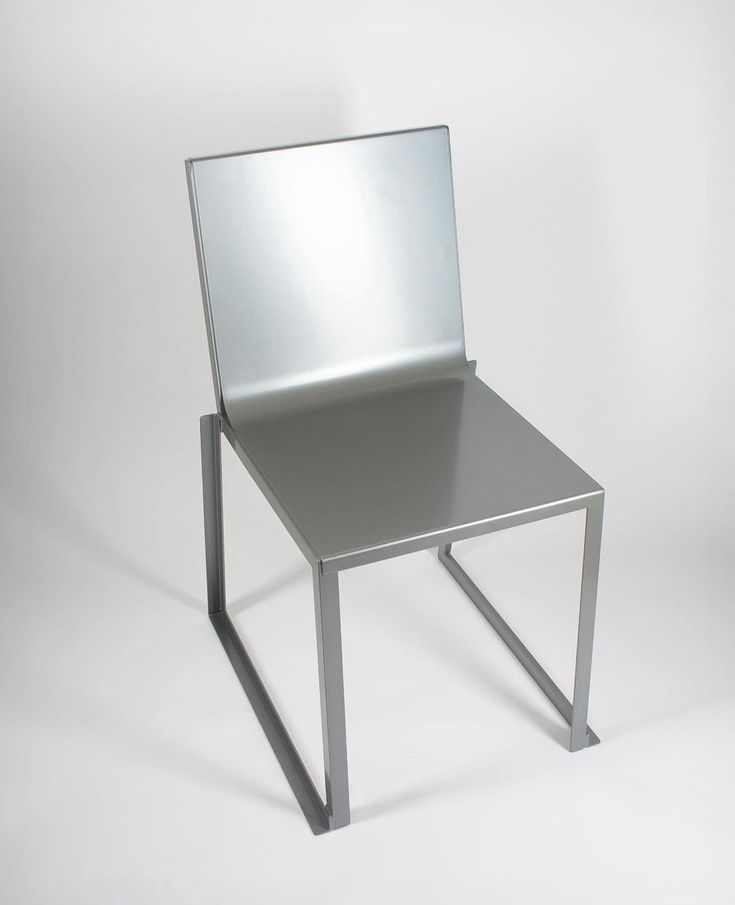
A stainless steel chair is more than just a piece of furniture; it's a statement of durability, modern aesthetics, and sleek design. Its resistance to rust and wear, combined with its clean lines, makes it a popular choice for both indoor and outdoor settings. While purchasing a designer piece is an option, the satisfaction of building your own is unparalleled. This guide will walk you through the rewarding process of how to make your own custom stainless steel chair, a project that combines metalworking skills with creative design to produce a functional work of art that will last a lifetime.
Step 1: Designing Your Stainless Steel Chair
Before a single piece of metal is cut, a solid plan is essential. The design phase is where your vision takes shape. Start by sketching your ideas on paper. Consider the overall style you want to achieve. Are you aiming for a minimalist design with sharp angles and clean lines, or something more organic with gentle curves? Look for inspiration in existing furniture, architecture, or even art. Think about the chair's intended function. Will it be a dining chair, a lounge chair, or an accent piece? The function will dictate critical dimensions like seat height (typically 17-19 inches), seat depth, and backrest angle for ergonomic comfort. Create a detailed blueprint with precise measurements for every component. This includes the length of the legs, the dimensions of the seat frame, and the height and width of the backrest. A good plan will not only guide your fabrication process but will also help you calculate the exact amount of material needed, preventing waste and unexpected shortages.
Step 2: Sourcing Materials and Gathering Your Tools
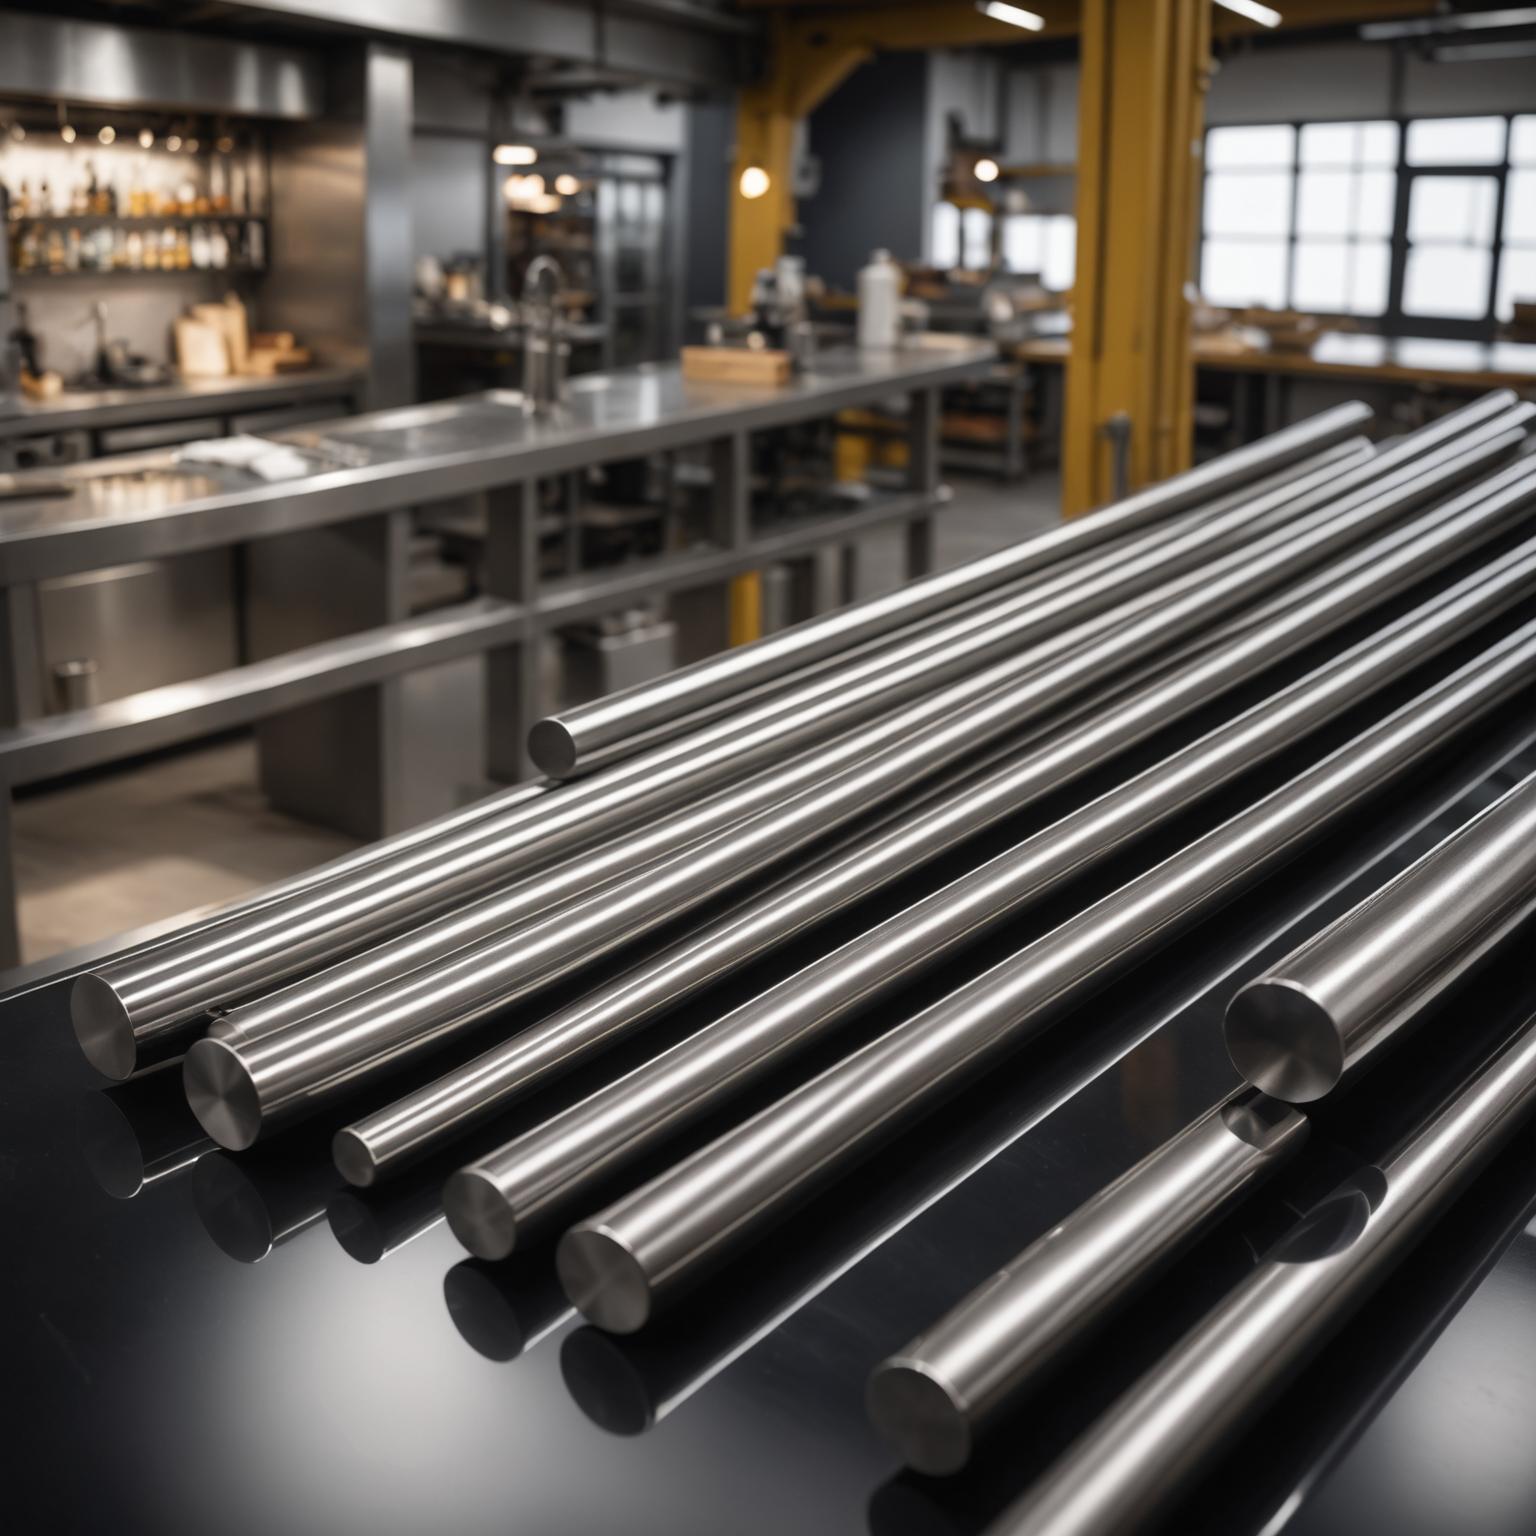
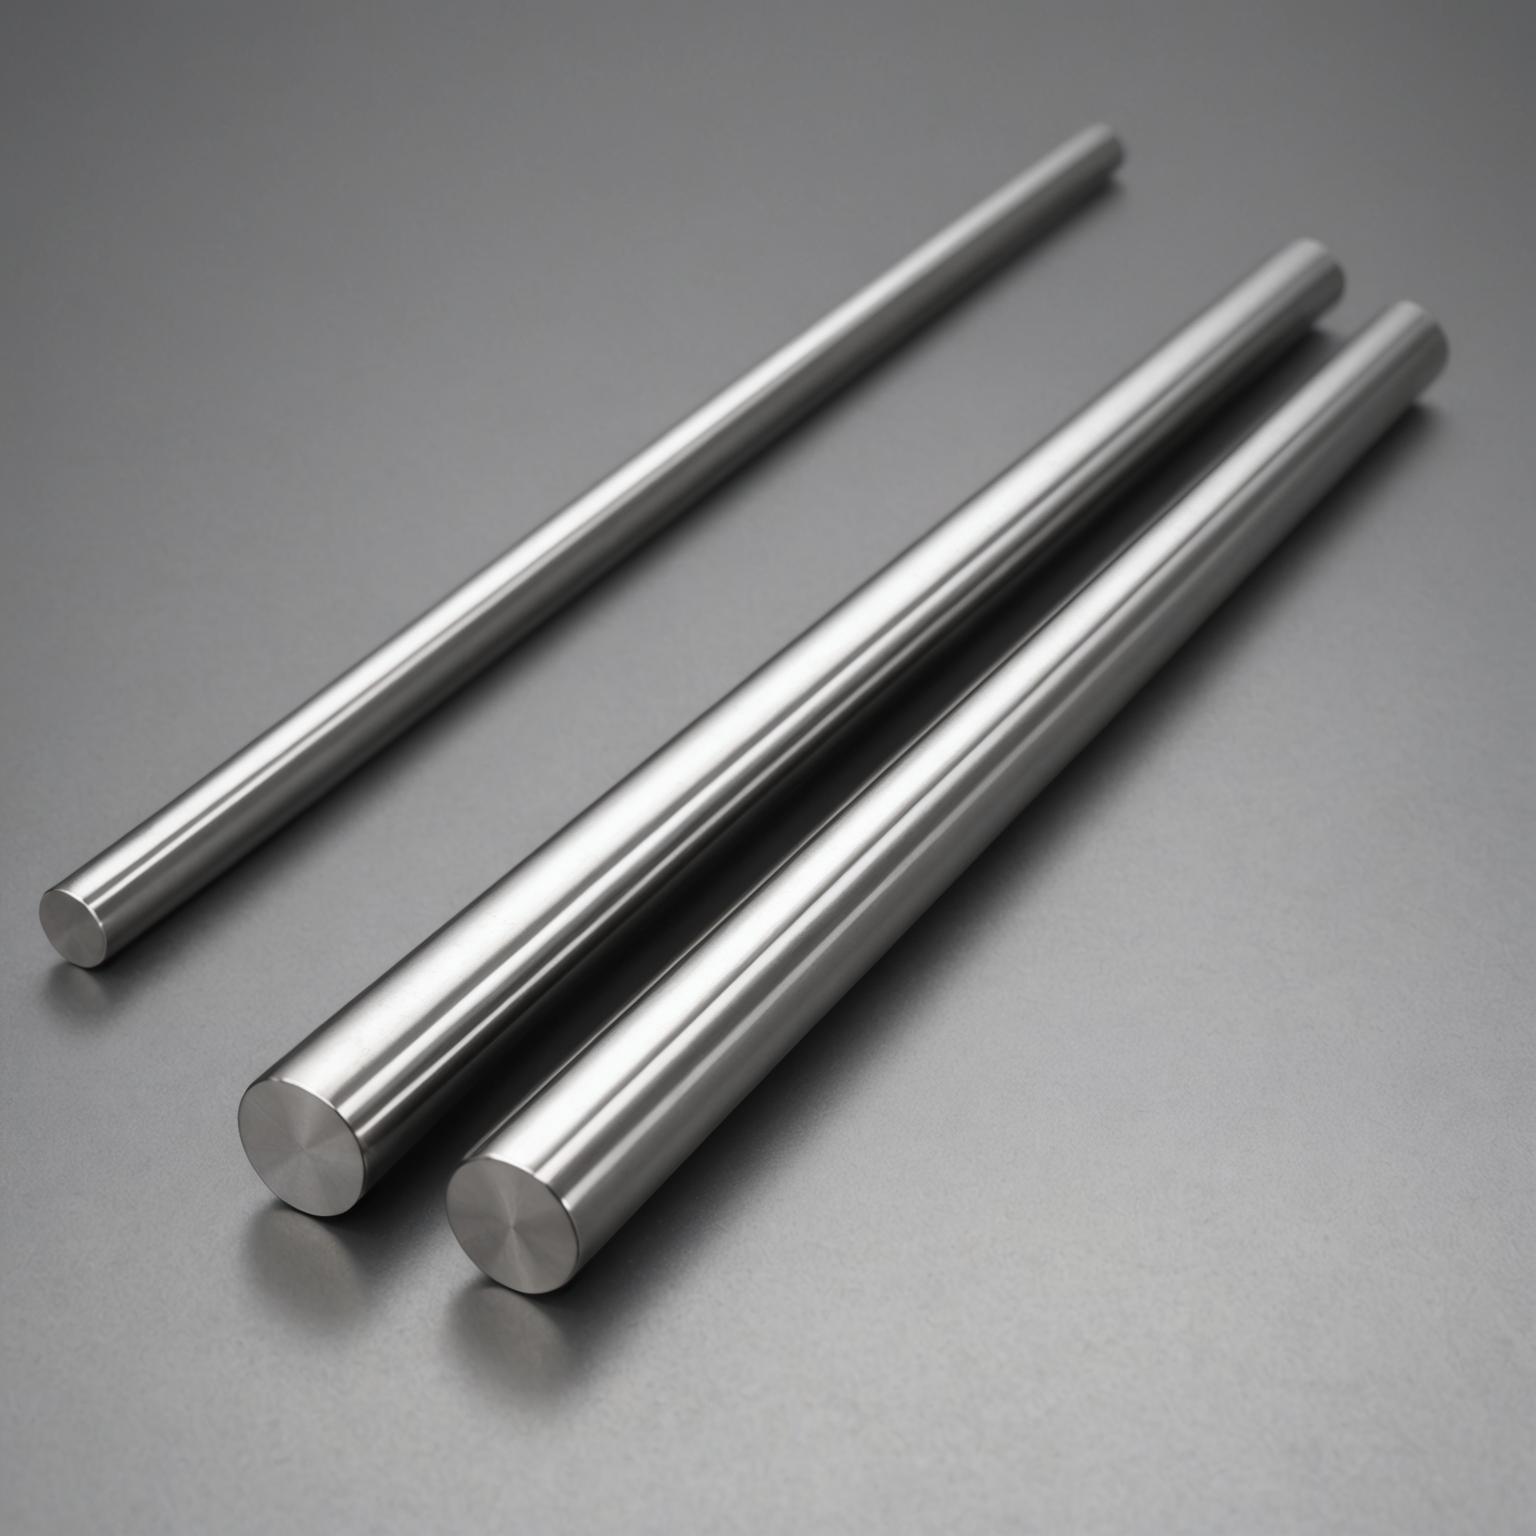
With your design finalized, the next step is to acquire the necessary materials and tools. For the steel, 304-grade stainless steel is an excellent choice due to its superior corrosion resistance and workability. You will likely need square or round tubing for the frame and legs, and perhaps a sheet of stainless steel for the seat and backrest if your design calls for it. Decide on the finish beforehand—a polished finish offers a mirror-like shine, while a brushed finish provides a more subdued, satin look. The tools required for this project are specific to metalworking, and safety should be your top priority. Essential safety gear includes a high-quality welding helmet, thick leather welding gloves, safety glasses, and fire-resistant clothing. For fabrication, you will need a metal-cutting tool like an angle grinder with cut-off discs or a horizontal band saw for more precise cuts. A TIG (Tungsten Inert Gas) welder is highly recommended for stainless steel as it produces clean, precise welds that require less finishing work. You will also need an angle grinder with grinding discs and flap discs for smoothing welds, a drill press or a powerful hand drill with cobalt drill bits for any necessary holes, various clamps to hold pieces in place, and measuring tools like a tape measure, engineer’s square, and a level.
Step 3: Cutting and Shaping the Components
The maxim "measure twice, cut once" is paramount in metalworking. Using your detailed blueprint, carefully mark the cutting lines on your stainless steel tubes and sheets. When using an angle grinder, ensure the workpiece is securely clamped. Make straight, confident cuts following your marks. After each cut, the metal edge will be extremely sharp and will have burrs. It is crucial to deburr every cut edge using a file or a grinder. This not only makes the pieces safer to handle but also ensures they fit together flush for a stronger weld. If your design includes curves, you will need a tube bender. This process requires patience and strength, as you must carefully bend the tubing to the correct angle without kinking it. Work slowly and check the angle frequently against your design templates. Precision in this phase is key to ensuring the final chair is stable, level, and true to your original vision.
Step 4: Assembling and Welding the Frame
This is where your individual components begin to resemble a chair. Find a large, flat, and fire-resistant surface to work on, like a dedicated welding table. Lay out the pieces for one side of the chair and use your engineer's square and clamps to ensure everything is perfectly aligned and at a 90-degree angle. Begin by "tack welding" the joints. Tack welds are small, temporary welds at key points that hold the structure together, allowing you to check the alignment before committing to a full weld. Once the first side is tacked, assemble and tack the second side, ensuring it's a mirror image. Next, connect the two sides with the cross members for the seat and backrest, again using tack welds. Place the entire tacked frame on a level floor to check for any rocking or twisting. Make any necessary adjustments now. Once you are certain everything is square and level, proceed with the final welding. This is the most skillful part of learning how to make a durable piece. Move slowly and methodically around each joint, applying a continuous bead to fully fuse the metal parts. TIG welding requires a steady hand to maintain the correct arc length and feed the filler rod smoothly.
Step 5: Grinding, Sanding, and Polishing
The raw welded frame, while strong, will not look like a finished piece of furniture. This final stage is all about refinement and achieving that professional, polished look. Start with an angle grinder equipped with a grinding disc to carefully grind down the high spots of the welds, making them flush with the surrounding metal. Be careful not to remove too much material or gouge the surface. After grinding, switch to a flap disc, starting with a coarser grit (like 60 or 80) and working your way up to finer grits (120, 220, and higher). This process smooths out the grinding marks and blends the welded area seamlessly into the rest of the frame. To achieve a brushed finish, you can sand in a uniform direction with a high-grit sanding pad. For a mirror polish, continue with even finer grits of sandpaper or emery cloth, and then move to a buffing wheel with a stainless steel polishing compound. This process is labor-intensive but is what transforms your project from a raw fabrication into an elegant stainless steel chair.
Enjoying Your Handcrafted Masterpiece
After the final polish, stand back and admire your work. You have successfully navigated the challenging process, from a simple concept to a tangible, beautiful piece of furniture. You have not only built a chair but have also gained invaluable skills in design, fabrication, and finishing. This custom-built piece is a testament to your effort and creativity, a durable and stylish addition to your home that carries a personal story. Whether it's placed at a dining table, in a home office, or as a standalone accent, your handcrafted chair will be a source of pride and a conversation starter for years to come.