


A Beginner's Guide to Creating Custom Designs on Stainless Steel
Stainless steel is renowned for its durability, sleek appearance, and resistance to corrosion, making it a premium material for a vast range of applications. When combined with the precision of modern technology, the potential for creativity is boundless. This guide will walk you through the process of creating a custom laser cut stainless steel sheet with designs, transforming a simple metal panel into a work of art or a functional, high-precision component. Whether you are an artist, an engineer, a designer, or a hobbyist, understanding this process opens up a world of possibilities, allowing you to bring complex digital concepts into the physical realm with stunning accuracy and a professional finish.
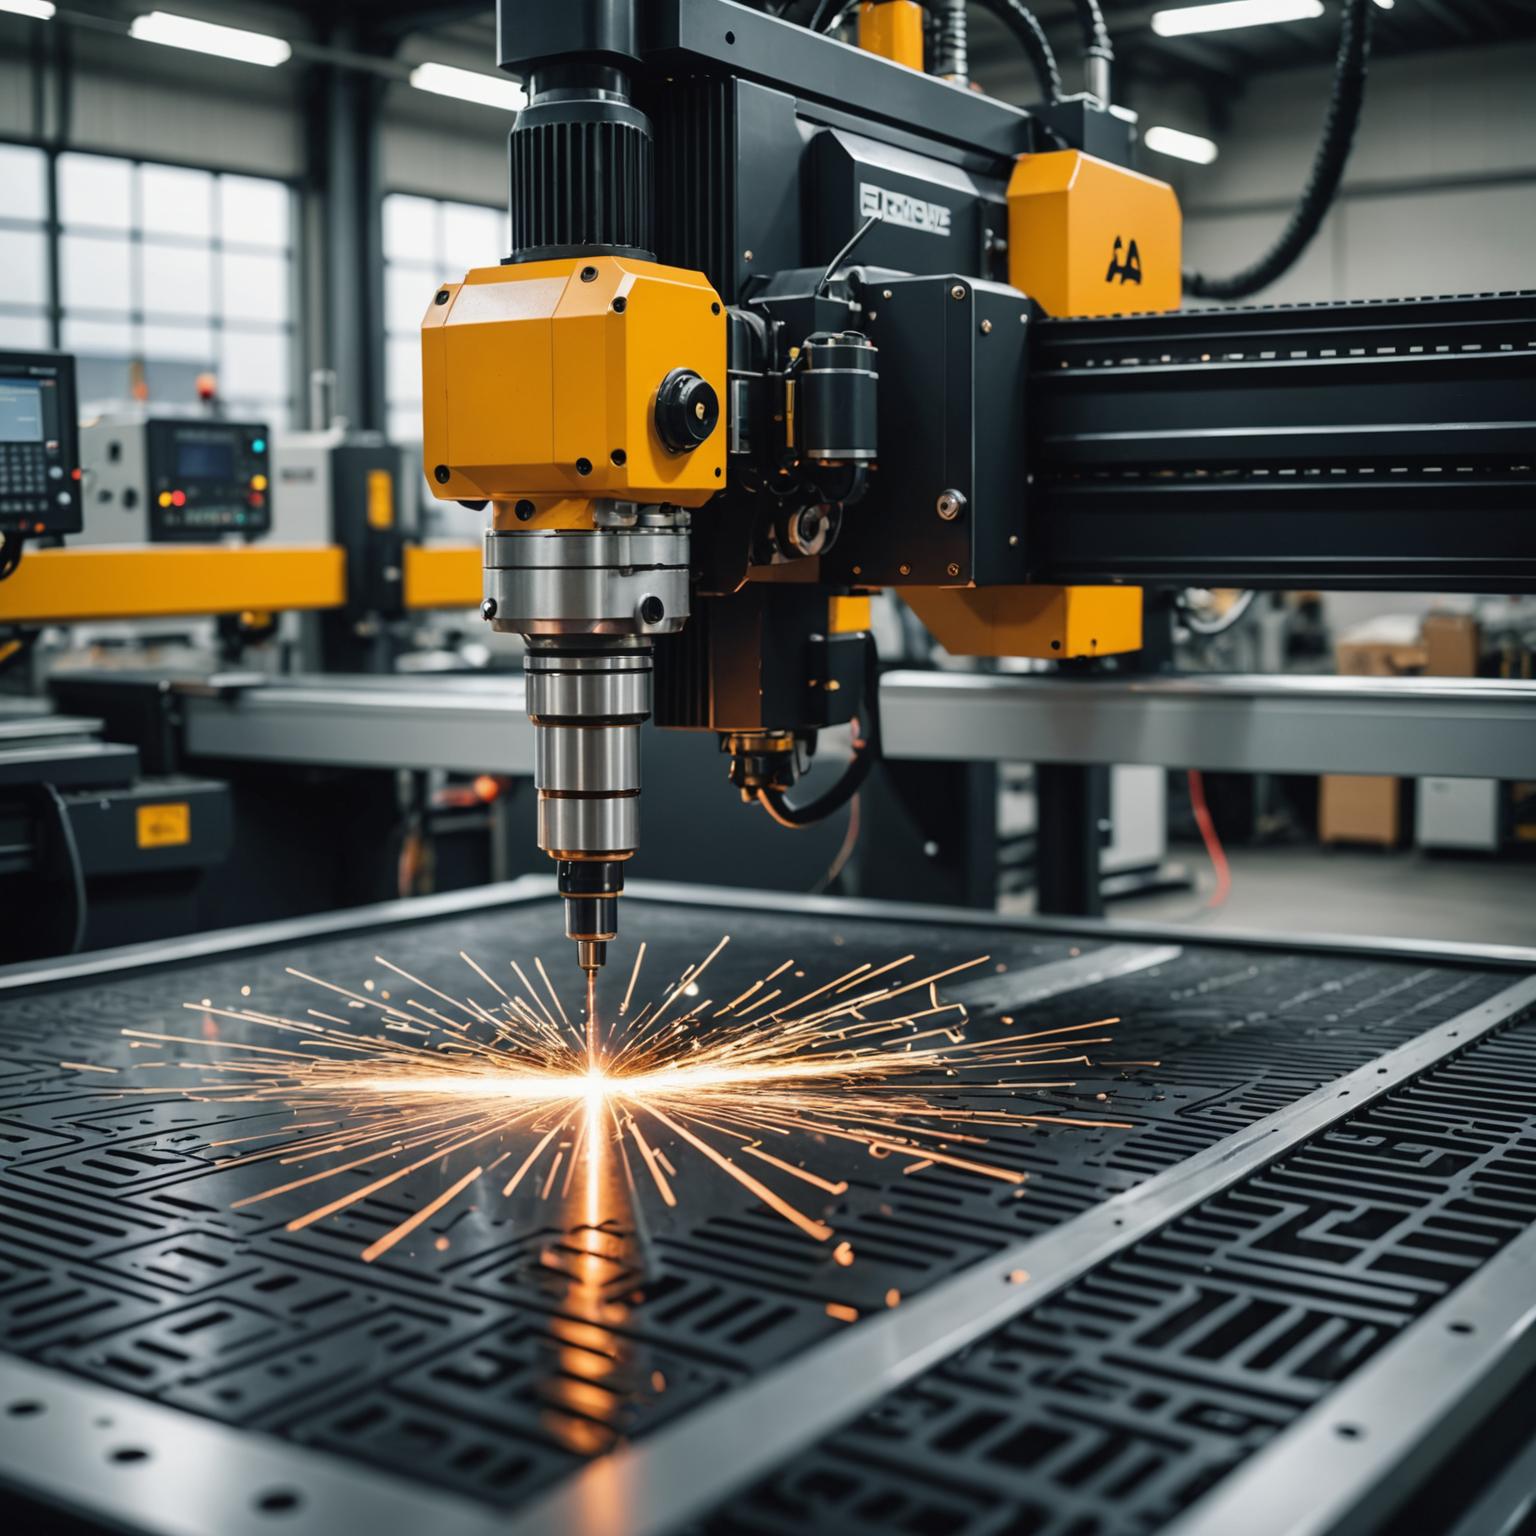
Understanding the Core Technology: What is Laser Cutting?
At its heart, laser cutting is a thermal separation process. It utilizes a highly focused, high-power laser beam to cut through materials. The entire operation is guided by a Computer Numerical Control (CNC) system. An operator first loads a digital design file—typically a 2D vector file—into the machine's software. The CNC system then translates this digital drawing into precise movements of the laser cutting head. As the laser head moves across the stainless steel sheet, it directs the beam onto the material. The intense energy of the laser melts, vaporizes, or burns away the steel along the designated path. Simultaneously, a jet of assist gas, such as nitrogen, is co-axially blown through the nozzle. This gas clears away the molten metal and debris, leaving an incredibly clean, smooth, and burr-free edge. This precision is what makes it superior to many traditional cutting methods, as it minimizes the heat-affected zone, preserving the structural integrity and finish of the surrounding stainless steel.
Why Stainless Steel is the Ideal Canvas
While laser cutters can handle a variety of metals, stainless steel offers a unique combination of properties that make it exceptionally well-suited for intricate designs. Its inherent resistance to rust and corrosion means that finished pieces will maintain their beauty for years, even in outdoor or humid environments, without needing extensive protective coatings. Furthermore, stainless steel is incredibly strong and durable, ensuring that even delicate patterns and thin elements within a design retain their structural integrity. It is also available in a wide array of finishes—from a reflective mirror polish to a subtle brushed or a modern matte finish—providing a versatile aesthetic palette for any project. The precision of laser cutting is particularly beneficial for stainless steel because it avoids mechanical stress and contamination, preserving the passive layer of chromium oxide that gives the material its signature corrosion resistance.
Step-by-Step: From Digital Design to Physical Reality
The journey to a finished laser cut stainless steel sheet with designs begins long before the machine is powered on. The first and most critical phase is design creation. This is done using computer-aided design (CAD) software like AutoCAD or SolidWorks, or vector graphics programs such as Adobe Illustrator or Inkscape. When designing, you must think like the laser. Designs need to be created as vector paths, which are essentially lines and curves that the laser will follow. It's crucial to ensure all paths are closed loops and there are no overlapping or duplicate lines, as these can confuse the machine and lead to errors. For designs that involve cutouts, such as stencils or text, you must create bridges to connect the inner parts (like the center of an 'O') to the main body of the sheet, preventing them from falling out. Pay close attention to the 'kerf', which is the width of the material that the laser removes. For very fine details, the kerf must be accounted for to ensure elements are not thinner or weaker than intended.
Preparing Your File and Choosing Your Material
Once your design is finalized, it must be saved or exported in a laser-cutter-friendly format, most commonly DXF (Drawing Exchange Format) or DWG. The next step is selecting the appropriate stainless steel for your project. The most common grade for general and decorative use is 304, which offers an excellent balance of cost, workability, and corrosion resistance. For applications in more corrosive environments, such as coastal areas or for use with certain chemicals, grade 316 is the superior choice due to its higher molybdenum content. You also need to decide on the thickness of the sheet. Thicker sheets are more rigid and durable but are also more expensive and take longer to cut. The chosen finish—brushed, polished, or raw—will also significantly impact the final look and feel of your piece. This combination of design, material grade, and finish is what makes each project unique.
The Cutting Process and Finishing Touches
With the digital file prepared and the material selected, the physical process begins. The stainless steel sheet is secured onto the cutting bed of the CNC laser machine. The operator loads the file, calibrates the machine for the specific thickness and grade of the steel, and initiates the cutting sequence. The machine then executes the design with breathtaking speed and accuracy, as the laser meticulously traces every line and curve. After the cutting is complete, the piece undergoes post-processing. This typically involves deburring, which is the process of removing any minute sharp edges to ensure the piece is safe to handle. The part is then thoroughly cleaned to remove any fingerprints or cutting residue. Depending on the desired outcome, additional finishing steps can be applied, such as powder coating for color, electropolishing for a brighter and even more corrosion-resistant surface, or graining to enhance a brushed finish. This final attention to detail is what elevates a well-cut part into a truly finished product, ready for its intended application, whether it be a stunning architectural facade, a custom piece of machinery, or a delicate piece of art.


